Easy Yeast Bread October 28 2015
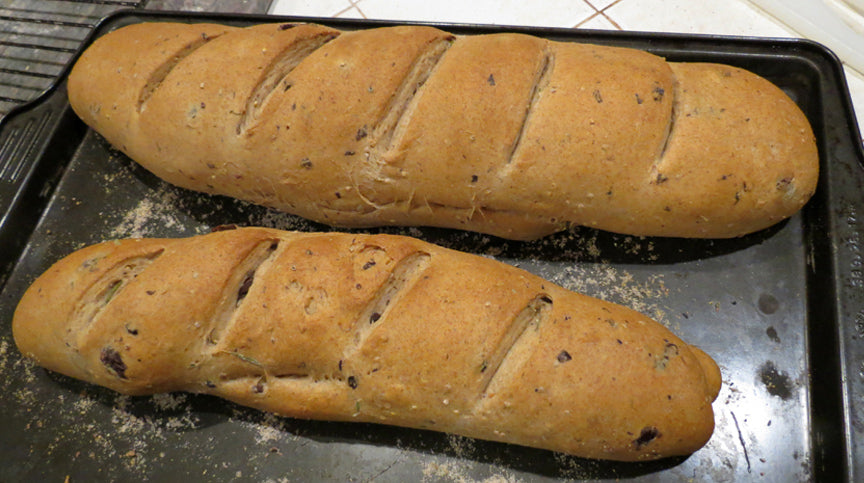
 Many of us are obsessed with baked goods: cakes, muffins, bread just to name a few. A good piece of yeast bread is so satisfying when paired with your favorite dishes. That's why for many years I turned to the bakery for good quality bread. Before making my own bread I used to imagine how difficult it is to make. I couldn't understand the concept of turning this mosh that's made of flour and later they turn into this wonderful rustic shape. How do you turn flour into this mosh then it'll come out looking all rustic, crunchy and delicious? Or maybe I need a fancy commercial oven to make bread appear that way.
A few years ago I decided to attempt making my own bread because organic whole wheat bread is almost impossible to find near me. I pulled out recipes and attempted to bake, and it sure wasn't successful. That's when I turned to baking soda breads using baking soda as the leavening agent. Soda bread is tasty, but it's not like a toasty piece of yeast bread.
Recently I decided to give yeast bread another try. After multiple experiments later, I learned how to work with whole wheat, spelt and all purpose flour. Turns out most recipes available are for baking with all purpose white flour. Whole wheat requires more water and yeast for it to raise. Spelt requires the least amount of water compared to others. Spelt is an ancient grain. Spelt and whole wheat offer more nutritious than all purpose white flour, but I find that spelt is easier to work with especially if you make bread that requires kneading. Don't worry though, in this blog and video I will keep it simple. There will be no kneading involved.
Finally, it is very important that your yeast is alive or your dough isn't going to rise! To properly store yeast, the packet needs to be air sealed, or release all oxygen (as much as possible) before storing. For longer shelf life, you can store it in refrigerator or the freezer.
Ways To Bake
If you want a rustic thick, crunchy crust use a cast iron or clay topf with a lid. Using an oven safe pot that can withstand 500F would be fine too, but it won't create the crust the same way.
You can use a pizza stone, pan, or skillet, and bake at 425-450F instead of 500F. You will need to allow dough to rise again after shaping it. This will create a thinner crust. It's all the matter of preference!
Baking without a lid
If you choose to bake without a lid -- place the dough that you already made into a shape you want on a sheet of parchment paper. Or, if you have access to banana leaves that's what I use. You can find this in the frozen section at Mexican and Asian markets. You can to allow 1/2-1 hour for the dough to rise on the parchment paper. While waiting for dough to rise preheat the oven to 425 or 450 F with a pan inside. Once dough doubles its size, take a knife and score a "+" on top. Finally, carefully pickup the parchment paper with the dough to place on the pan, and let it bake about 25-35 minutes. To ensure the bread is cooked, poke the interior with a stick. If the stick comes out clean the bread is ready!
Baking Directly On A Pan
This method requires the least tools. No parchment paper, just flour the pan then place the dough directly on top. Allow 1/2-1 hour for dough to rise. Preheat oven to 425-450F. Once dough doubles its size place the pan in the oven. Let it bake for 25-35 minutes.
You don't need fancy kitchen supplies to make a good loaf of bread. Using any methods above would create a great loaf, just that crust thickness will vary.
Hope you enjoy the simple recipe. Have fun, and good luck!
♥RECIPES♥
Spelt Flour Bread:
3 cups flour
1-1 1/8 cup lukewarm water (add more if needed)
1 teaspoon dry yeast
Whole Wheat Flour Bread:
3 cups flour
2-2 1/4 cup lukewarm water (add more if needed)
1 tablespoon dry yeast
All Purpose Flour Bread:
3 cups flour
1 1/2 cup water
1 teaspoon yeast
♥Watch the video to see how easy it is to bake bread!♥
